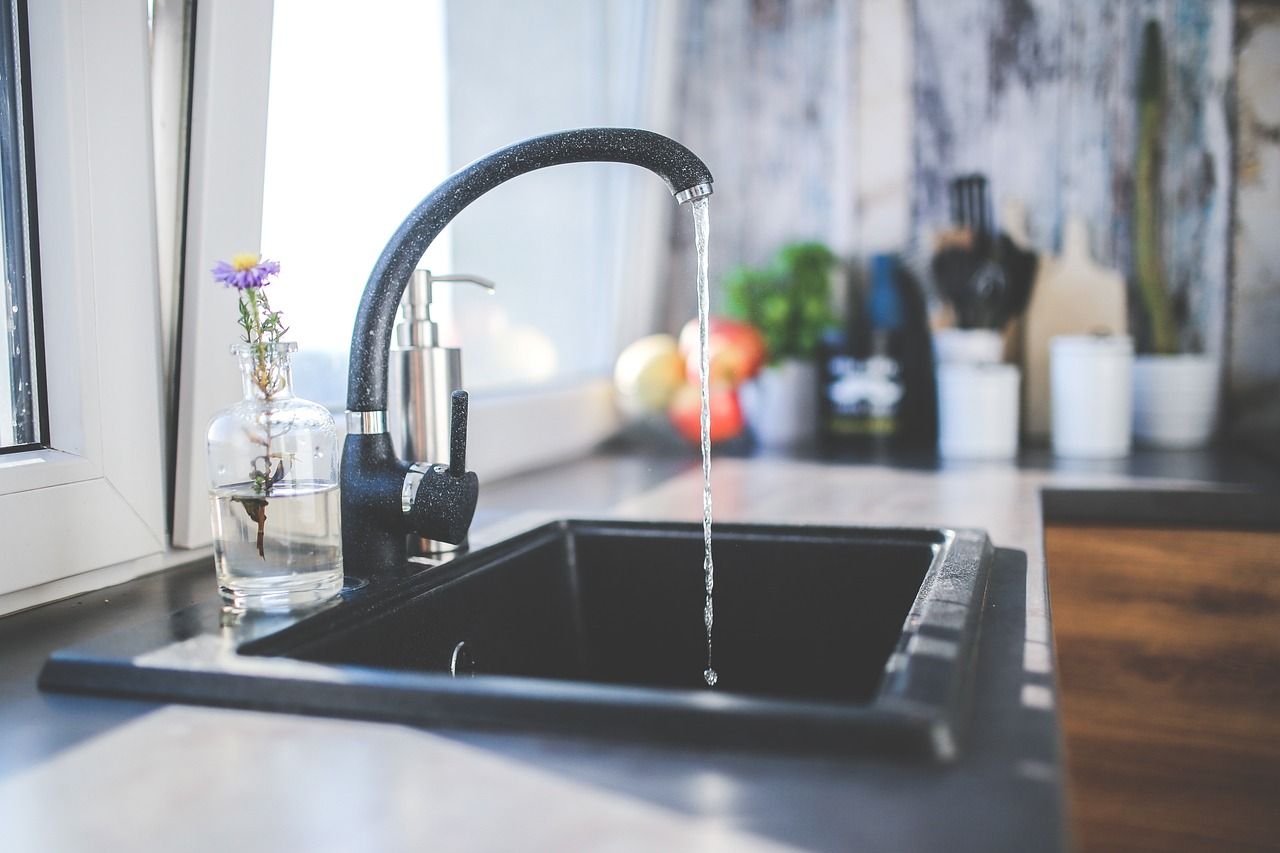
How to fix a leaking tap and faucet?
Have you ever been in bed listening to the drip, drip, drip of a dripping tap and wondered how much water (and money) is being wasted? It’s frustrating, isn’t it? A leaking tap may not seem like a big deal, but if you don’t fix it, you could be wasting thousands of litres of water and even creating more serious plumbing problems.
The good news? You might not need a
plumber to sort it out. Whether it’s a kitchen faucet leaking, a shower faucet leaking, a shower tap leaking, or a mixer tap leaking, you can usually handle the repair yourself with a few tools and some patience. In this guide, we’ll take you through the process step by step, so you’ll know exactly how to repair a leaking tap and finally stop that annoying drip.
Steps to fix a leaking tap
Follow the next steps to contain water leaks in your kitchen or bathroom tap.
Turn Off the Water Supply
The water supply has to be turned off before starting any repairs. If you forget to do this, water will spill everywhere, and a simple repair becomes very complicated. Most taps have an isolation valve located under the sink, which controls the water supply to that particular tap. Rotating it clockwise will stop the water flow.
Once the water is off, the tap should be turned on to drain any remaining water from the pipes. This prevents unexpected splashes when dismantling the tap. If your tap is leaking due to high water pressure, turning off the supply can also prevent further damage while working on the repair.
Bonus Tip: If you can’t see the isolation valve, shine a torch under the sink to see if it’s hidden behind pipes or in a cupboard.
Disassemble the Tap and Inspect the Parts
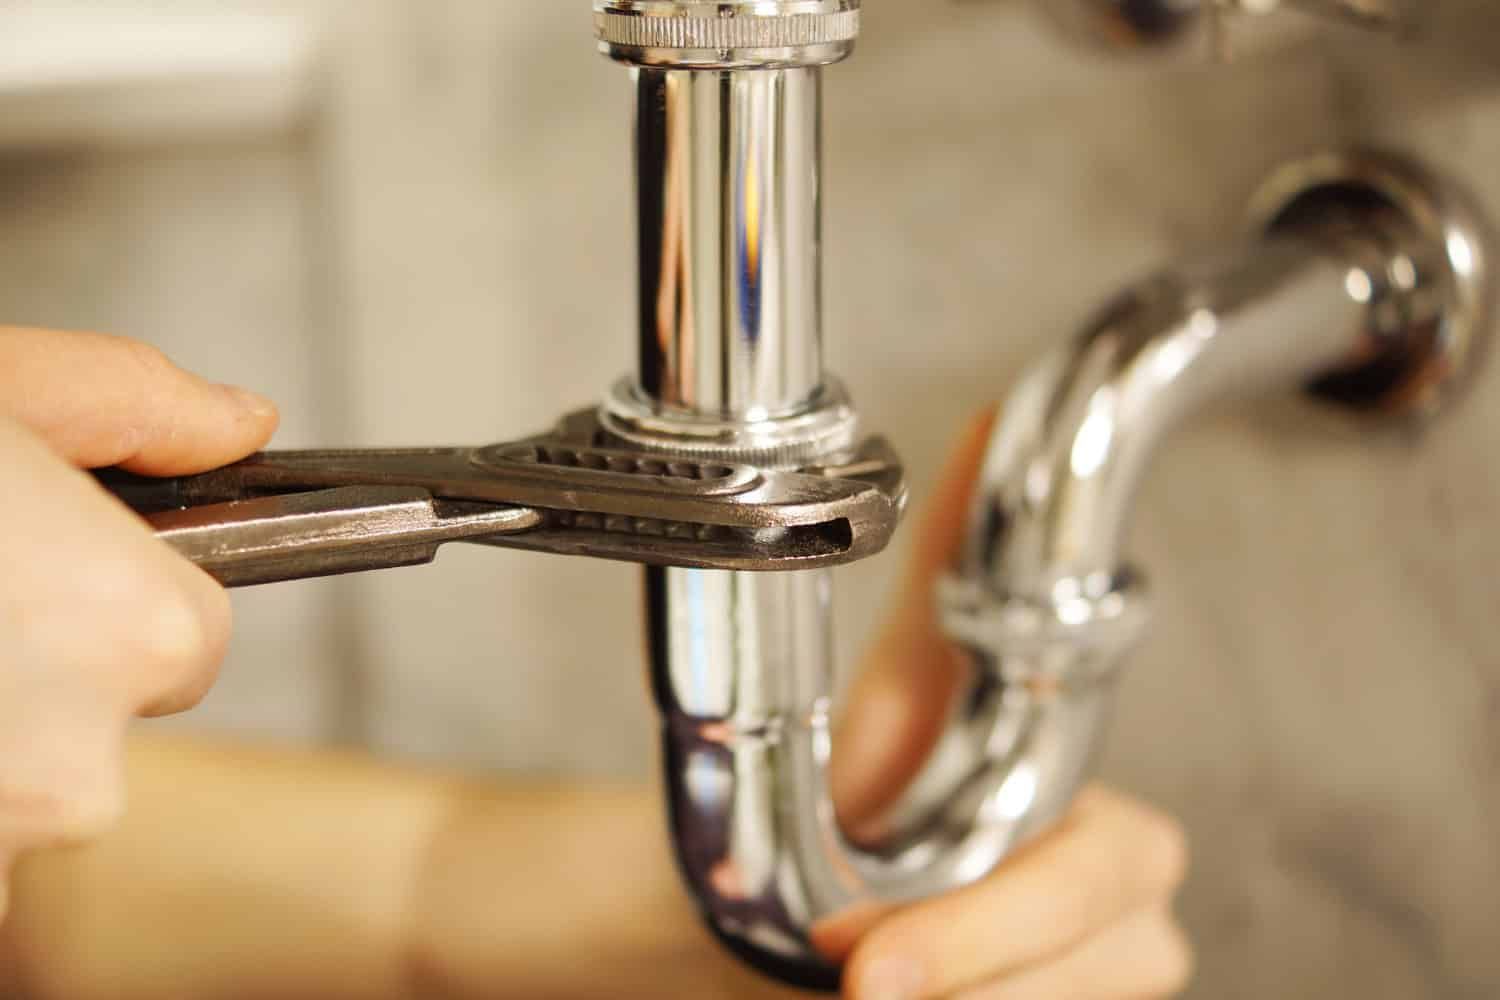
Now that the water is off, it’s time to start dismantling the tap. Start by removing the handle, which is usually secured by a small screw hidden under a cap marked “hot” or “cold.” A screwdriver or an Allen key will do the trick, depending on the tap style. If there’s a cover plate, that should be removed next.
Then, take a spanner and unscrew the main tap body carefully. On the inside, you’ll be able to see the washer, O-ring, and valve seat. Often the cause of leaks are these small parts. Another common culprit for leaks is a mixer tap leaking, and if it is, it will probably have a cartridge rather than a washer. Look at each part and see if anything appears worn, cracked or damaged.
Bonus Tip: Taking a few photos during the process can be a lifesaver when it’s time to put the tap back together.
Replace the Washer, O-Ring, or Cartridge
Once the faulty part has been identified, it’s time to replace it. In traditional taps, leaks are often caused by a damaged washer. A washer that’s cracked, flattened, or out of shape won’t seal properly, which is what causes the leak. Simply swapping it for a new washer of the same size should fix the problem.
For mixer taps, the problem is usually with the cartridge rather than the washer. If water continues dripping even when the tap is completely off, the cartridge likely needs replacing. These come in different sizes and types, so it’s important to buy one that matches your tap model. If you’ve replaced the washer or cartridge but the tap is still leaking, the issue could be with the leaking tap valve. A faulty valve seat or a poorly installed washer can sometimes cause ongoing leaks, so double-check that everything is fitted correctly.
Bonus Tip: Taking the old parts to the hardware store makes it much easier to find the right replacements. This saves the hassle of guessing sizes and making multiple trips.
Clean the Tap Components
Since the tap is already in pieces, now’s the perfect time to clean all the components before putting it back together. Over time, dirt, grime and mineral deposits from hard water can build up inside the tap, causing leaks to worsen and making the tap less smooth to use.
To remove any buildup, submerge the tap components in vinegar or a limescale remover for 10–15 minutes. This will dissolve mineral deposits that could be affecting the tap’s performance. After soaking, use an old toothbrush or a cloth to gently scrub away any remaining grime.
Bonus Tip: A tap aerator with a built in filter will help reduce limescale buildup and stop future leaks if you live in an area where hard water is a problem.
Reassemble and Check for Leaks
After all is clean and in good shape, it’s time to put the tap back together. Slowly turn the water supply back on when everything is back where it was. When the water starts flowing again, look for leaks.
Bonus Tip:
Test the tap to see if everything looks good by turning it on and off a few times to make sure it’s working as it should.
Still Leaking? Here’s How to Stop a Leaking Tap for Good
If you've gone through all the steps and your tap is still leaking, the problem might be bigger than just a worn washer or O-ring. Rather than spending more time guessing, getting a professional plumber in is the best way to get it sorted properly.
At Jet Blaster Man, we specialise in
leaking pipe repairs. If you're looking to fix a leaking tap, our expert team provides fast, reliable service to stop leaks and prevent further plumbing issues. We also offer a
24/7 emergency plumbing service in Newcastle and Lake Macquarie to make sure you’re covered 7 days a week.